Catching up on blogging. When I had the stem attached, I moved onto a couple of tasks: gluing up the side panels and the hog. Before I did either though I did a number of dry fits. I have to confess that I was perplexed on how the side panels glued up. I must have put them on the form with the clamps 3 or 4 times. There is a very modest camber to side panels and I was terrified of gluing the middle piece (there are 3 pieces for each side) upside down. Note to DH: a CNC mark pointing up or some indication on how the pieces go together would be a big help. More reading of the plans and the dry fit got me pointed in the right direction (I think -- I don't think I'll every be 100% sure).
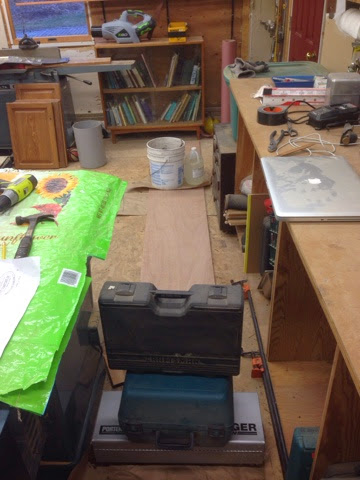
One of the many times I did the dry fit is depicted below. Fear of an error here was profound. I was definitely not in the proper SloppyCopy mind set.
In the photo below I have some weights on the epoxied portions. Getting them aligned was not hard, but very modest misalignments are significant due to the length of the pieces. I may have been overly cautious here, but the every so slight curves in the edges of the pieces make confidence in the alignment not easily obtained. I countersunk about 8-10 half inch screws into each joint as well. The screws were removed the next day or so and then I filled in the holes with very microfiber-rich epoxy.
A bucket of clamps and some tools for one side...

A generator and soggy logs on the other.
Gluing up the hog. I made a big batch (two squirts..three?) of epoxy with microfibers and got the hog glued up soon after the sides. I just used a lot of clamps. I should say that my shop is typically around 50 degrees when I'm using epoxy in these photos. I have a couple of very ineffective space heaters attached to the ceiling. You can see one below along the top edge of the photo. Because I limited ability to regulate the temperature, I've been using the fast 205 WestSystems hardener, which they claim is good down to the mid 40s. I don't leave the heat on over night, so I'm sure a substantial portion of the hardening process is taking place at cool ~40-45 degree (F) temps. So far I have not had any issues.

That's a lot of clamps!

I did not attach the hog to the stem when I glued up the rest of the hog. The next day I rigged a set of clamps and a couple of wedges with some sand paper to enable solid pressure between the curved portion of the stem and the hog. More fiber-rich epoxy here as well. The long orange clamp goes all the way down to the sled.
The other thing I did with the hog was to glue in a piece of 1" fir in the region between the end of the stem and the 3' station, as suggested in the plane. I think now that the extra space I had between the top of the frame at the 3' station and the hog was put there intentionally by DH to provide space for a section of 1/2 plywood. The hog gets very thin here when the planing is done, so the extra piece of fir should provide a better landing for the 1/4 plywood pieces. I have another piece that goes between stations 3 and 6, but I haven't attached it yet and may not.


No comments:
Post a Comment